
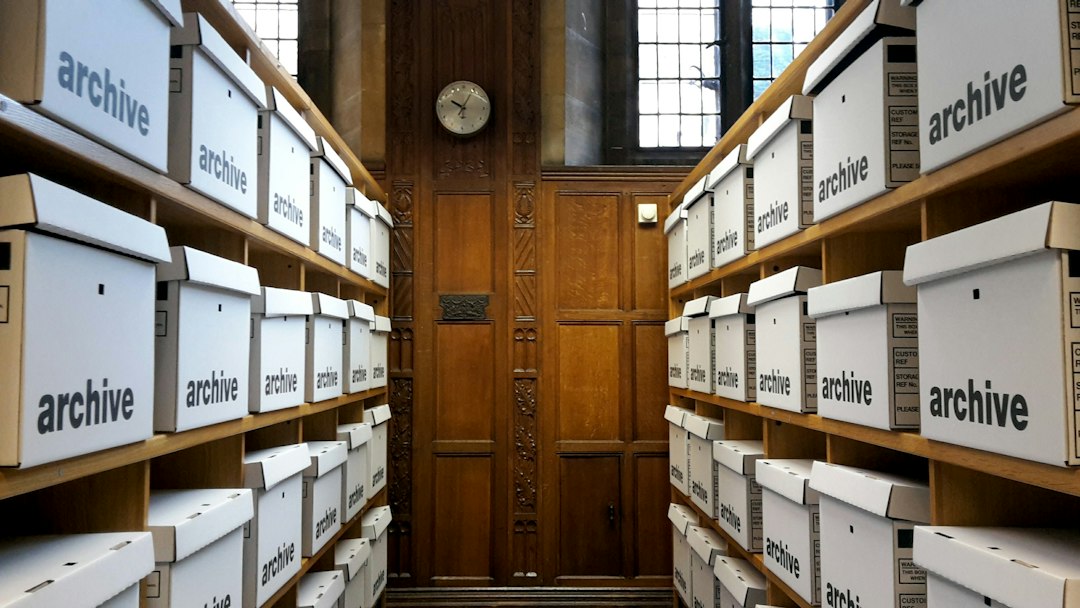

A disorganized storage unit turns temporary overflow into a maze. You stack boxes without labels, arrange furniture haphazardly, and when you need something three months later, you spend an hour just to find it. An organized storage unit—with clear categories, logical placement, and an inventory system—eliminates that friction. This checklist walks you through how to organize storage unit contents so you can locate anything quickly and use your rented space efficiently. If you need help moving items into storage or coordinating the logistics, Bravos Moving can handle the placement and organization setup.
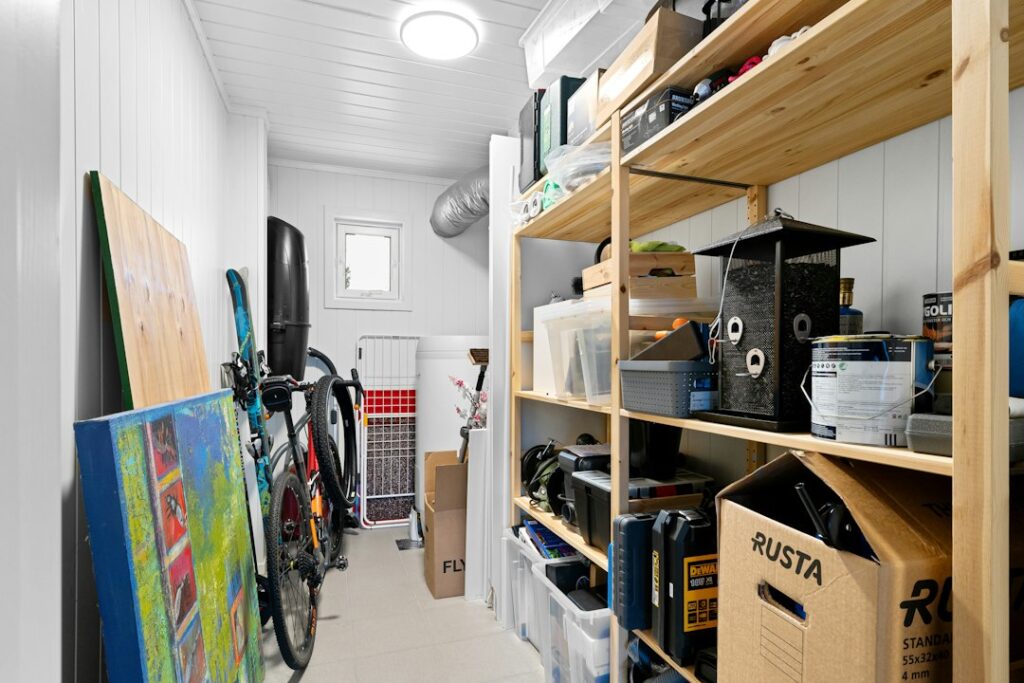
Who This Checklist Is For
This guide applies to anyone storing household goods during a renovation, between moves, or through a life transition. The principle is the same regardless of unit size or climate control: category-driven layout, label everything, and keep frequent-access items near the door.
If you’re storing for fewer than six weeks, basic grouping by room may suffice. For longer storage—renovation projects, separation, or multi-month transitions—this system prevents the slow decay of knowing what you own and where it is.
Before You Enter the Unit: Inventory and Sort
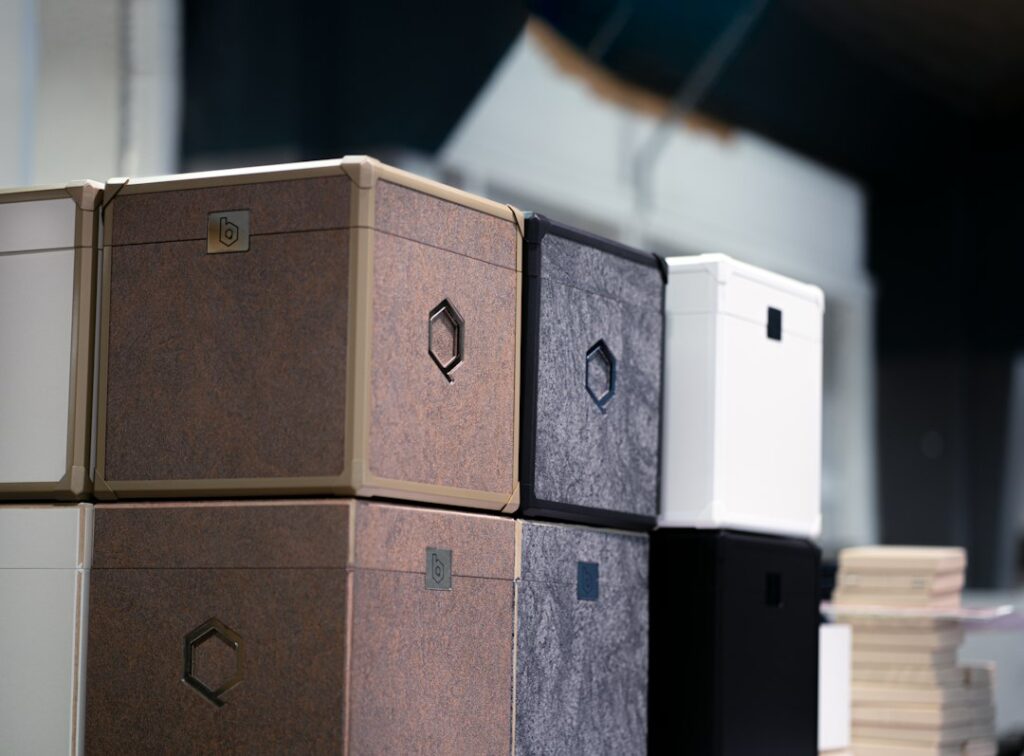
Do this work before anything goes into the unit. Measure your storage space: width, depth, and height. Note whether the door swings inward or outward, and whether you have a ground-level door or need ramp access.
Sort items into broad categories: furniture, seasonal boxes, documents and office supplies, kitchen and bathroom goods, décor, sports and hobby equipment, tools, and household-specific items. Sort by category, not by room. How you arrange a unit has nothing to do with how your home was organized.
Create an inventory list as items are sorted. Use a spreadsheet or phone notepad. Record the category, description, and rough location (e.g., “seasonal décor, three boxes, back left corner”). This takes 30 minutes and saves hours of searching later.
The Layout: How to Arrange Items in Your Storage Unit
Effective organization follows one principle: put items you’ll need often near the door, and items you’ll rarely access toward the back or higher up.
Front section (near the door)
Store anything you might need within the next month. Seasonal décor if it’s approaching that season, tax documents if you’re using them soon, boxes marked “active.” Keep a clear one-meter-wide path from the door inward so you can access items without moving other boxes. This path is not storage space. It’s access. Protect it.
Middle section (mid-depth and height)
Arrange medium-frequency items here: dishes if you’ll be setting up a kitchen in two months, children’s items you rotate seasonally, hobby equipment you use quarterly. Stack boxes no higher than six feet if you’re alone, or up to eight feet with two people retrieving items. Uneven stacks collapse. Use a furniture dolly for anything above shoulder height.
Back and high sections
Place items you won’t need for six months or longer. Old school records, out-of-season winter coats in July, archived documents. Stack strategically to prevent crushing items beneath weight. Do not store anything fragile or irreplaceable in a pile beneath heavier goods.
Furniture placement matters. Large pieces form natural walls and compartments. Position them perpendicular to the main pathway, not parallel, so they divide the unit into zones.
Vertical Space: The Most Wasted Resource
Most people underestimate vertical capacity. If you have a 2.5-meter-high unit and only fill it to 1.5 meters, you’re wasting money. Use shelving units to double your usable volume. Stack boxes on shelves instead of the floor, which saves space and makes items easier to see and retrieve.
Place heavy boxes on lower shelves, lightweight boxes higher. Reserve shelf tops for things you rarely need. Leave headroom. Do not fill shelves to the ceiling; you need to move around inside. A 20-centimeter gap at the top gives visibility and prevents feeling trapped while retrieving items.
Labeling: The System That Actually Works
Bad labels are worse than no labels. “Stuff” or “miscellaneous” doesn’t help. Good labels tell you exactly what’s inside and why you’re keeping it.
Label every box on at least two sides (front and top, or two sides). Use large permanent marker or printed labels so they remain readable after months in dust. Write category first, then specific contents, then date if relevant.
Example labels:
- “Kitchen—pots, pans, small appliances” not “Kitchen stuff”
- “Seasonal—Christmas decorations, lights, ornaments” not “Seasonal”
- “Documents—tax returns 2019–2023” not “Papers”
- “Winter coats—adult and children” not “Clothes”
- “Hobby—camping gear, tent, sleeping bags” not “Equipment”
Color-coded labels help if you’re visual. Assign a color per category and mark the spine of each box. From across the unit, colors are faster to scan than reading every label.
Create an Accessible Inventory System
Write down or digitize what’s inside before you close the door. The simplest system is a spreadsheet with three columns: category, item description, and location in the unit (e.g., “back left, shelf 2”). Update it if you add or remove items.
Store a printed copy at home or email it to yourself. Do not rely on memory after three months.
Photograph each section of your unit before you leave. Take shots of the front, middle, back, and overhead. Upload them to a phone folder or cloud storage. When you can’t remember where the coffee maker is, look at the photo.
Protect Items from Damage During Storage
Organization partly prevents damage. Boxes crushing boxes, moisture seeping into cardboard, and items shifting during temperature changes all cause loss.
Place moisture absorbers (silica packs or baking soda containers) on shelves, especially in non-climate-controlled units. Replace them every two months if you’re storing longer than six weeks.
Wrap wooden furniture in blankets or furniture pads, not plastic. Plastic traps moisture. Do not leave upholstered furniture in direct sunlight if your unit has windows; fabric fades. Use corner protectors on furniture legs if they’ll sit for more than two months; they prevent legs from sinking into boxes and denting.
Stack boxes in columns, not pyramids. Pyramid stacks are unstable and collapse unevenly. If you stack five boxes high, use all five in a straight line.
The Order of Work: What to Do First
- Measure the unit and sketch its layout to scale (takes 10 minutes)
- Sort items into broad categories before moving anything
- Create your inventory spreadsheet
- Set up any shelving units you’re using
- Place furniture to create zones and compartments
- Label every box or container
- Fill the unit: front section first, middle section, back section
- Place moisture absorbers on shelves
- Photograph each zone
- Seal the door and store your inventory list somewhere accessible
Easy-to-Miss Items and Common Mistakes
Most people forget to leave clear access paths. You think you’ll squeeze items around the edges, and suddenly retrieving anything requires moving three other pieces. The one-meter pathway is not negotiable.
Overestimating box weight is another silent killer. A box packed tightly with books weighs 35 kilograms. Stacking three of these means 105 kilograms of pressure on whatever’s below. If that’s another box of breakables, you’ve destroyed its contents. Label heavy boxes and stack them low.
Storing items without protecting them from temperature swings is common in non-climate-controlled units. Electronics, artwork, and anything wood can warp, crack, or stop working. For storage longer than three months in an uncontrolled unit, this matters.
Failing to update your inventory when you retrieve items means your list becomes useless after the first few retrievals. Spend 30 seconds crossing off or noting what you took. Your future self will be grateful.
When to Revise Your Organization System
After your first retrieval, your layout may need adjustment. If items you thought you’d access once every three months turned out to be needed monthly, move them closer to the door. If you discover you’ve stacked inefficiently, reorganize before the problem worsens.
Review your inventory every four weeks. Add notes about condition, damage, or items you’ve removed. This catches problems early before they spread.
What to decide about organize storage unit contents
An organized storage unit saves you money (you won’t buy replacement items you already own) and time (you’ll find what you need in minutes, not hours). The system works only if you label ruthlessly, maintain a current inventory, and respect the front-path rule. If you’re storing items as part of a larger move or renovation project and need help coordinating what stays and what goes, contact Bravos to discuss your logistics.
Want help with this?
If you're storing items during a move or renovation and need help coordinating placement and access, contact Bravos Moving to discuss your storage logistics.
FAQ
How should I arrange boxes if I’m storing for six months or longer?
Keep items you might need within the first month near the door. Everything else can go deeper into the unit or on higher shelves. Review your inventory every six weeks and move anything you’ve accessed down to the front section so you’re not constantly digging into the back. For very long-term storage, consider a climate-controlled unit to prevent damage from temperature and humidity swings.
What’s the best way to stack boxes without crushing the ones underneath?
Stack in straight columns, not pyramids. Place heavy boxes (books, files, tools) on the bottom and lighter boxes (linens, holiday décor, clothing) on top. If you’re stacking boxes more than five high, use shelving units instead—they distribute weight and make retrieval much easier. Never stack directly on cardboard if the box is old or damp; cardboard loses strength when wet.
Should I use plastic or cardboard boxes for long-term storage?
Plastic containers are better for long-term storage because they resist moisture, protect against pests, and last longer than cardboard. Cardboard can absorb humidity, weaken, and eventually collapse. If you’re using cardboard boxes, place them on shelves or pallets, not directly on the unit floor, to protect them from moisture seeping up. Use packing tape to reinforce seams.
How do I prevent moisture and mold in a non-climate-controlled storage unit?
Place moisture absorbers (silica canisters or baking soda boxes) throughout your unit, especially in corners where air doesn’t circulate. Replace them every 4–8 weeks. Keep items off the floor by using shelving or pallets. Avoid sealing items in airtight plastic bags, which trap moisture; instead, use breathable storage containers or wrap items loosely in plastic. If you’re storing anything valuable, a climate-controlled unit is worth the extra cost.
What items should I never store together?
Do not store electronics directly against or underneath heavy items, as pressure can damage circuits and screens. Do not place anything with a strong smell (paint, cleaners, petrol) near fabric or wood, as odors can seep in. Do not store perishables, food, or anything that can rot. Do not put fragile items on lower shelves where moisture or heavy boxes could damage them.
How often should I check on items in storage?
Visit your unit at least once every four to eight weeks, even if you’re not retrieving anything. Check for signs of moisture, pests, or structural damage to the unit. Review your inventory and update it. This catches problems early before they spread to other items. If you’re storing long-term and can’t visit that often, ask the facility staff to do occasional inspections and report any concerns.