
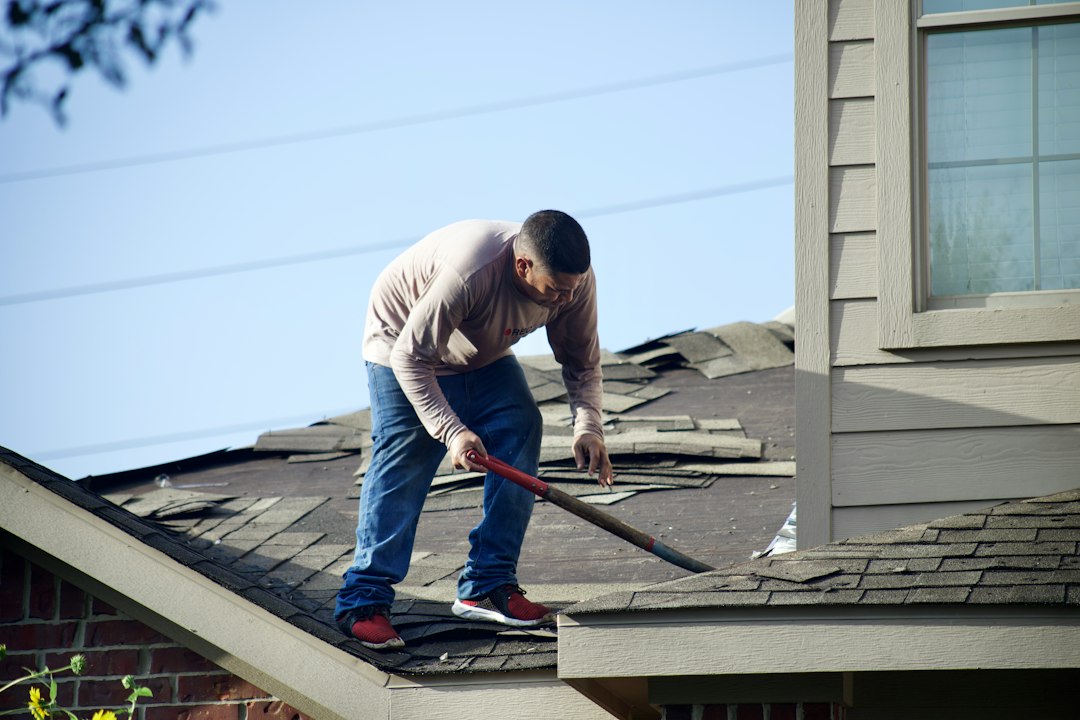

A roof inspection checklist is a structured walkthrough of your roof’s visible components—shingles, flashing, gutters, vents, and structural edges—designed to catch damage, wear, or deterioration before it becomes expensive. Most homeowners skip inspection until something leaks or sagging becomes obvious. By then, water damage spreads into framing, insulation, and interior walls. A systematic check takes two to three hours and costs nothing but your time and attention.
Who should use this checklist
Use this if you own your home and want to assess roof condition yourself before calling a roofer. Inspect after severe weather—heavy wind, hail, or ice buildup—and at least once yearly in spring or early fall when conditions are safest and damage from winter or summer is visible. If you rent, the landlord or property manager owns the inspection responsibility. Do not climb onto rental property roofs.
This checklist assumes a ground-level and low-level assessment. It does not replace a professional roof inspection if you suspect structural problems, have active leaks, or live in a region with frequent weather events. If you’re uncomfortable with heights or your roof has a steep pitch, photograph from the ground instead.
Tools and safety basics

Gather these before starting:
- Sturdy ladder (not a step ladder) that reaches the gutter safely
- Work gloves, leather or heavy-duty, to protect hands from sharp shingle edges and granules
- Binoculars to inspect peak and upper areas from the ground
- Flashlight or headlamp for inspecting dark underside of overhangs
- Camera or smartphone to document damage with photos and notes
- Notepad or printed version of this checklist
- Second person stationed at the base of the ladder
Do not inspect alone. Avoid wet conditions, high winds, or extreme heat. Wet shingles are slippery. Wind destabilizes the ladder. Heat makes falls more likely because you tire faster. If the pitch exceeds 8:12 rise over 12 inches run, stay on the ladder and use binoculars rather than climbing onto the roof surface.
Ground-level assessment
Start with binoculars and walk around the perimeter of your house.
Check the overall shape and alignment. The roof line should be straight, not wavy or sagging. Dips or sags in the middle of a roof section can indicate underlying structural problems or water damage weakening the decking. Take a photo from one corner so the profile is visible against the sky.
Look for obvious damage. Missing shingles, torn shingles, patches of darker discoloration, or areas where shingles appear to be lifting all warrant documentation. Discoloration often signals moisture retention or mold, not just cosmetic wear.
Scan the chimney, vents, and flashings. Flashing is the metal trim around chimneys, vents, and roof-to-wall junctions. It should sit flat and sealed with caulk or sealant. If flashing is rusted, bent, or pulling away, water is probably entering the joint.
Examine gutters and downspouts. Gutters should be attached firmly to the fascia board, not hanging or pulling away. Look for standing water (sign of poor drainage or clogging), rust, holes, or granule accumulation. Downspouts should extend at least 4 to 6 feet from the foundation. If they terminate near the house, water pools against the basement or crawlspace.
Check for debris and moss. Leaves, branches, and moss trap moisture and accelerate shingle degradation. Heavy moss growth indicates the roof is holding water and not drying quickly enough, a sign of poor ventilation or overly shaded exposure.
Ladder and edge inspection
Position the ladder safely and inspect the roof edge and eaves more closely.
Examine shingle condition up close. Shingles should lie flat against the decking. Curling, buckling, or peeling at the edges means they’re nearing end of life, typically 15 to 25 years depending on climate and material. Granule loss indicates the protective coating is wearing away. A few lost granules are normal. Entire sections with granule exposure warrant professional evaluation.
Check nail heads. Roofing nails should be covered by the shingle above them and sealed flat. Exposed or popped nails allow water to seep under the shingle. Replace them or note their locations for a roofer.
Inspect flashing closely. Around vents, chimneys, and valleys, flashing should be continuous, caulked, and not rusted through. Daylight through flashing or gaps where it meets the shingle or wall means water is entering. Valley flashing is especially critical; this is where water concentrates during heavy rain.
Look at the soffit and fascia. The soffit (underside of the overhang) and fascia (board along the edge) should be intact and not rotting. Soft spots, peeling paint, or visible wood grain and discoloration indicate water damage. If water is damaging the fascia, it’s probably also entering the wall or attic.
What to document
Photograph and note:
- Location of damage (north side, front left corner, etc.)
- Type of damage (missing shingles, curled edges, rust, exposed nails)
- Estimated area affected (a few shingles, one section, widespread)
- Proximity to vent, chimney, or valley
- Any water staining on interior ceiling or attic wood that corresponds to exterior damage
Photograph during daylight from multiple angles and include the wider roof context so a roofer can understand scale and location from your photos alone.
Red flags that require immediate professional inspection
Contact a roofer without waiting if you observe:
- Sagging roof line or visible dips
- Water stains on interior ceilings or attic wood, especially after rain
- Widespread missing or damaged shingles
- Flashing that is visibly rusted, bent, or separated
- Rotting fascia or soffit, or soft spots that give when pressed
- Active leaks during rain
- Mold or mildew visible in the attic or on roof decking
- Multiple roof features showing signs of water infiltration
A single missing shingle or one small area of curling is manageable and not urgent. Patterns of damage, structural sagging, or evidence of active water entry mean your roof has already begun failing.
Inspection frequency and follow-up
Perform this checklist at least once per year, ideally in spring after winter weather or in early fall before heavy autumn storms. If you live in a climate with hail, ice storms, or high winds, inspect after each major weather event. Document findings year over year so you can track whether damage is stable or worsening.
Shingles typically last 15 to 25 years. If your roof is approaching 20 years old and showing signs of granule loss, curling, or widespread damage, budget for replacement rather than patching. A professional roof inspection costs $150 to $300 and is worth the expense if you’re unsure about what you’re seeing.
For additional perspective, refer to the roof inspection checklist or the article on roof inspection without calling a roofer yet.
Want help with this?
Before you schedule a roofing repair or replacement, use this checklist to document what you're seeing. Bring photos and notes to your consultation with a roofer, and you'll get more accurate estimates and honest guidance on what needs immediate attention versus what can wait.
Leave a Reply
You must be logged in to post a comment.