



After moving day ends, damage assessment isn’t optional if you’re a tenant protecting a security deposit or a seller closing on a property. A post-move damage inspection checklist ensures you catch and document issues systematically before a landlord, property manager, or buyer’s inspector finds them first. This article walks you through the inspection itself, what qualifies as damage versus normal wear, how to photograph evidence that builds your case, and the timeline for filing. If you’d rather outsource the inspection, Bravos Moving can coordinate the cleanup and initial assessment. roof inspection checklist.

Who needs this checklist
Tenants leaving a rental property have the most immediate stake. Ontario landlords can deduct damages from security deposits, and disputes over what counts as tenant-caused damage versus normal wear end up at the Tribunal Ontario (formerly the Landlord and Tenant Board). Homeowners selling a property also benefit from this approach: if your home inspection reveals damage from the move itself—torn drywall, scuffed flooring, damaged trim—documenting exactly what happened and when protects you in negotiations or claims. Landlords inspecting after tenants leave use a similar process to validate deductions, though your role is to dispute inaccurate assessments.
In Ontario, a landlord has 30 days from move-out to return a security deposit minus any deductions, and the deduction notice must itemize damages and repair costs. If you disagree, you have limited time to gather evidence and file a dispute.
Start your inspection immediately after move-out
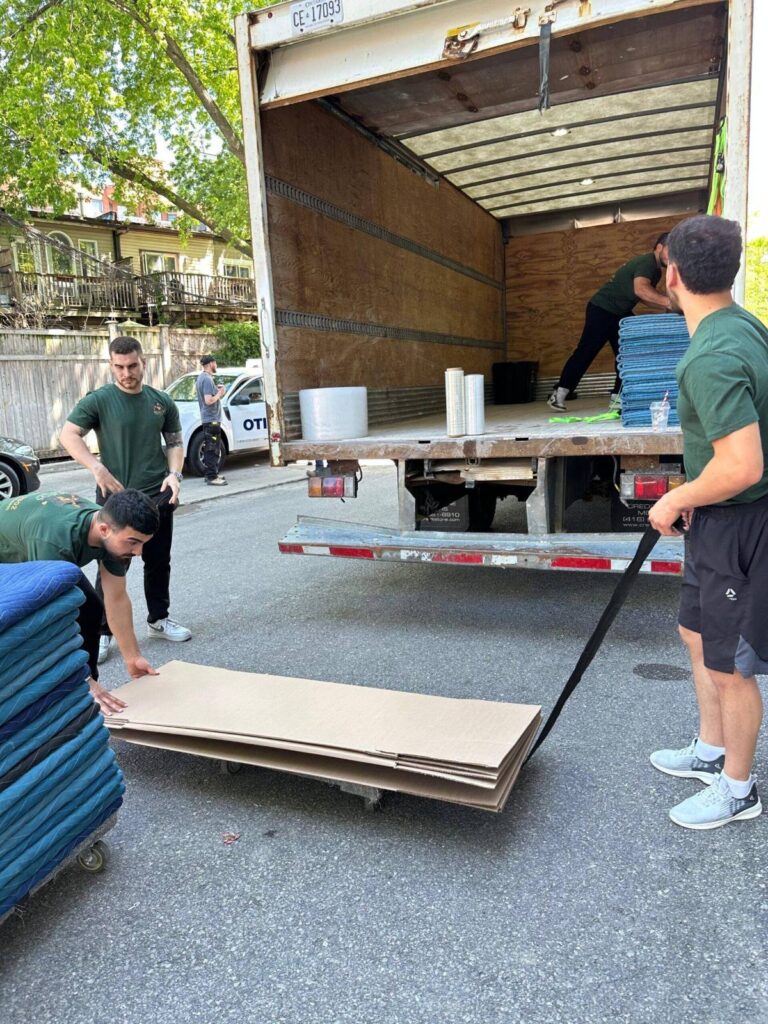
Do not wait days or weeks. Photograph and document the space on move-out day or the next morning, while the property is empty and light consistent. Bring a camera or smartphone, a measuring tape, a notepad, and ideally a second person to witness conditions. Walk the property systematically—room by room, wall by wall—rather than spot-checking.
Photograph everything twice: wide shots showing the full room and condition, then closeups of any damage. Include a timestamp in the photo metadata if possible. Wide shots prove the overall state; closeups prove the specific issue. A wall scratch photographed next to a ruler is more useful than one with nothing nearby for scale.
What counts as damage versus normal wear and tear
Normal wear includes minor scuffs, faded paint from sunlight, light carpet stains that don’t penetrate, small nail holes from picture hangers, and worn-out caulk around tubs. Damage means gouges in walls, broken fixtures, large stains or burns in carpet, cracked tiles, broken windows, damaged doors, or anything requiring repair or replacement beyond cleaning.
The line is not always clear. A two-inch scuff on a painted wall from a box corner is damage. A hairline crack from settling or age is wear. A stain from spilled wine is damage. Discoloration from years of sunlight is wear. If you caused it during the move—dropped a box, dragged furniture, dropped something heavy—document it as move-related damage. If you caused it before moving, photograph it anyway to prove it wasn’t a move-day incident.
Room-by-room inspection checklist
Walls and ceilings: Check for gouges, holes larger than a picture hanger hole, scuffs, stains, water marks, or paint chips. Mark the location and photograph it. Measure the size of any hole or gouge.
Flooring: Inspect for rips, stains, burns, missing pieces, or deep scratches that expose underlay. Walk the perimeter and diagonals. Carpet damage and hardwood gouges are common in doorways and where heavy furniture dragged.
Doors and frames: Look for dents, scratches, broken hinges, damaged handles, or misalignment. Open and close each door. Check frame edges where door corners can catch during moves.
Windows and screens: Photograph any cracks, broken seals, torn screens, or bent frames. Check that all windows open and close smoothly.
Kitchen and bathrooms: Inspect cabinet doors, handles, and hinges. Test appliances (if included) for function. Check faucets, handles, and tile condition. Look for grout cracks or missing caulk, though this is often wear rather than move-related damage.
Closets and storage: Check shelving, rods, and hardware. Damage shows up here too, and these spaces are often forgotten in inspections.
Light fixtures and outlets: Verify that lights work and covers are intact. Broken light fixtures from box corners or furniture bumping are common moving damage.
Appliances (if rented): If a stove, refrigerator, or washer/dryer came with the rental, photograph their exterior condition and test basic function. Dents and scratches from the move may be recoverable against the moving company’s liability.
Document the easy-to-miss damage
Ceiling damage is frequently overlooked. A box shifted on the truck or a tall item pressed against the ceiling during loading leaves marks or dents that show up clearly in photos. Check corners where walls meet the ceiling.
Door edges and frame corners take hits when furniture moves through. Photograph the inside and outside of every door, especially entrance doors. Minor dings on frame edges are wear; gouges or split wood are damage.
Baseboards suffer scuffs from dollies, shoe boxes, and vacuum cleaners. Walk the perimeter and photograph damaged sections. These are often easy to repair but are legitimate damage claims if the moving process caused them.
Closet rods and shelving get bent or pulled loose when hangers get yanked or boxes are shoved inside. Check every closet for function and visible damage.
Hardwood floor cupping or buckling appears days after move-in if moisture entered during the move. Photograph floors in direct sunlight to show any waviness, but note that this may not be move-related unless the home flooded during transit.
How to photograph damage effectively
A photo without context is weak evidence. Photograph the damaged item, then photograph it next to something that shows scale: a ruler, a coin, your hand, or another object of known size. Write down the location (e.g., “master bedroom, north wall, 18 inches from corner”). Note the date and time. Include the surrounding area in at least one photo so a reviewer can see how visible the damage is in normal light.
Store photos in a folder labeled by date and property address. Back them up to cloud storage or email them to yourself the same day. If a landlord or adjudicator later disputes your inspection, you’ll have timestamped originals.
Timeline for damage claims and disputes
Move fast. In Ontario, landlords must return deposits within 30 days of move-out and provide itemized deductions. If you disagree with claimed damages, contact the landlord immediately. Request receipts or photos of the alleged damage. If the landlord can’t provide evidence, the deduction may not hold up at Tribunal Ontario.
If the landlord doesn’t return the deposit within 30 days, file a dispute at Tribunal Ontario. Bring your inspection photos, timestamps, and any written correspondence with the landlord. The burden of proof is on the landlord to show the damage is more than normal wear and that it resulted in actual repair or replacement costs.
For sellers, if a home inspection uncovers move-related damage, document your own photos and get repair estimates. This positions you to negotiate with buyers or their insurers rather than absorb the cost entirely.
Key takeaways
- Inspect and photograph damage on move-out day or the next morning, not days later.
- Normal wear (minor scuffs, faded paint, small nail holes) is not deductible; damage (gouges, broken fixtures, large stains) is.
- Walk every room systematically. Ceiling damage, door frames, and baseboards are easy to miss.
- Photograph damage with scale and context. Store originals with timestamps in cloud backup.
- In Ontario, landlords have 30 days to return deposits with itemized deductions. File a Tribunal Ontario dispute if you disagree.
Need help with this? Locations from our team.
Ready for a clear next step?
If your move uncovered damage you want to document for a claim, or if you're concerned about moving-related damage to your old or new property, reach out to discuss what you've found.
Next steps for post move cleaning damage claim inspection checklist
A systematic post-move damage inspection checklist protects your security deposit and clarifies responsibility if moving damage occurred. Photograph immediately, with scale and context, and file disputes in Ontario within the tribunal process if a landlord's deduction seems unjustified. If the damage was caused by the moving company, pursue a separate liability claim; if it was your responsibility, the photographic evidence at least proves what happened.
Related: moving boxes and supplies.
Related: same-day moving in Toronto.
Related: King City.
Next steps for post-move damage inspection checklist
A systematic post-move damage inspection checklist protects your security deposit and clarifies responsibility if moving damage occurred. Photograph immediately, with scale and context, and file disputes in Ontario within the tribunal process if a landlord's deduction seems unjustified. If the damage was caused by the moving company, pursue a separate liability claim; if it was your responsibility, the photographic evidence at least proves what happened.
FAQ
What's the difference between normal wear and tear and moving damage?
Normal wear includes minor scuffs, faded paint, light carpet discoloration, and small nail holes. Damage means gouges, burns, stains, cracks, broken fixtures, or anything requiring repair. If the moving process caused it—a box scraped a wall, furniture gouged the floor—it qualifies as damage you can document for a claim.
When should I inspect the property after moving?
Inspect on move-out day or the next morning, while the property is empty and lighting is consistent. Do not wait days or weeks. Take photos immediately with timestamps if possible. Delaying makes it harder to prove the damage occurred during the move rather than from your occupancy.
How do I photograph damage to support a claim?
Use wide shots to show the full room, then closeup photos of the specific damage with a scale reference—a ruler, coin, or your hand. Include the location and date. Photographs without context or scale are weaker evidence than closeups next to a known-size object.
Can a landlord deduct moving damage from my security deposit in Ontario?
Yes. Landlords can deduct for damage you caused, but not for normal wear. In Ontario, the landlord must provide a deduction notice within 30 days of move-out. If you disagree with the deduction, you can file a dispute at the Tribunal Ontario. Document damage immediately to support your case.
Should I report damage to the moving company if they caused it?
Yes. If a moving company caused the damage, report it in writing within the timeframe specified in your contract (often 30 days). Provide photos and a detailed description. Moving companies carry liability coverage for damage caused during transit and delivery. Document everything before you file a landlord dispute.
What if I find damage days after moving in?
Photograph and document it with a date, but note that proving it happened during the move becomes harder if there's a delay. If moving damage appears later—scuffs that didn't register immediately, or paint chips that fell off—photograph it with a note about when you discovered it and contact the moving company if you believe they're liable.